Shower Cubicle Refresh in South Cumbria
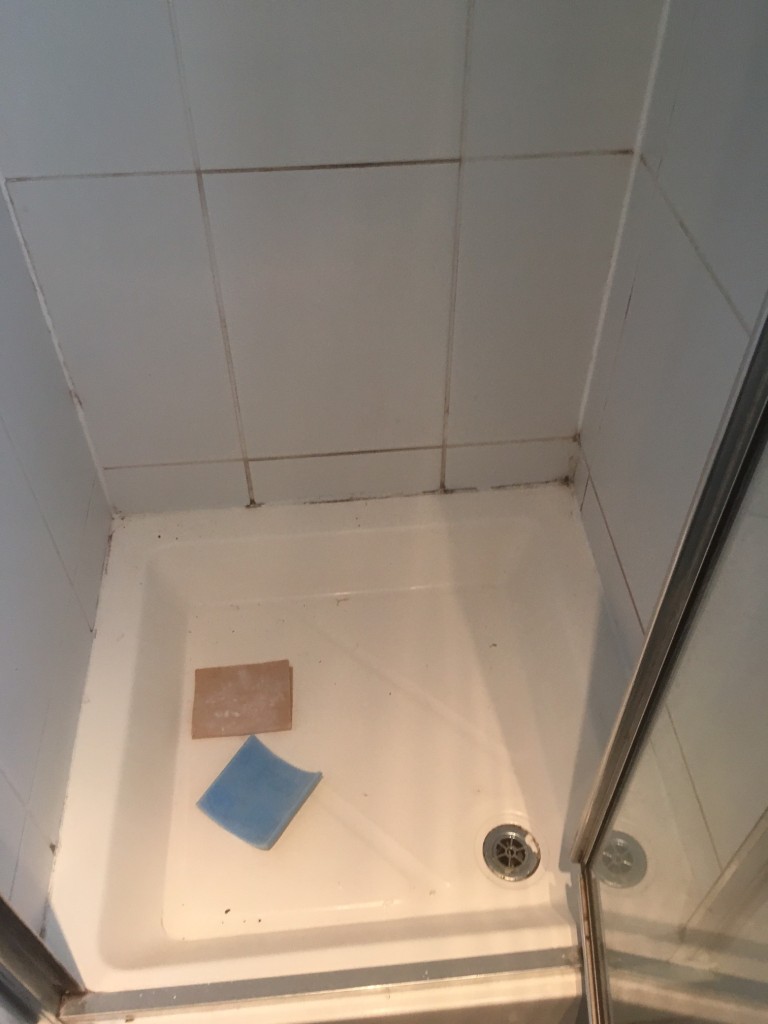
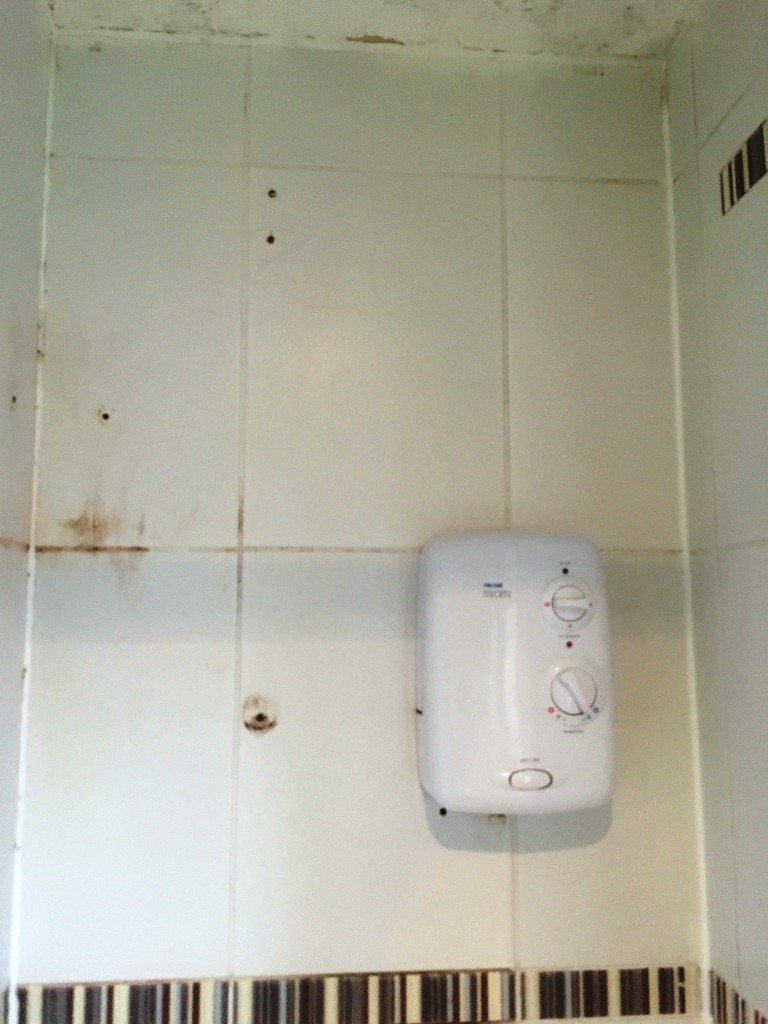
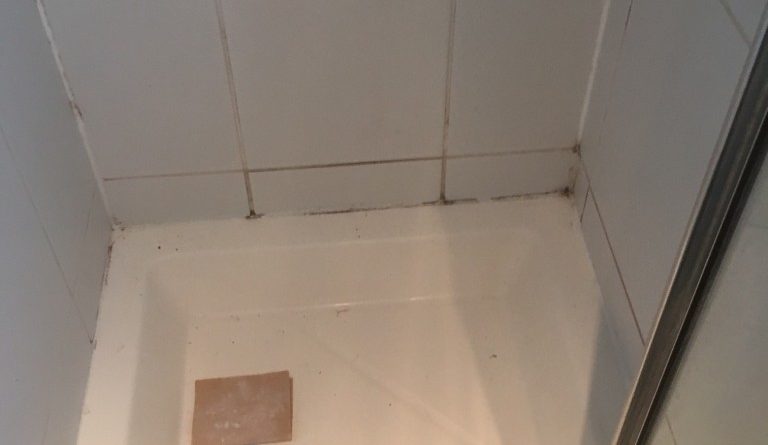
Grange-over-Sands is a quaint little town on the Morecambe bay, roughly halfway between Barrow-in-Furness and Kendal in Cumbria. I was recently contacted by a property owner in the area who had heard about Tile Doctor services and was keen to have us restore their tiled shower cubicle which, as you can see from the photos below, had staining and mould on the ceramic tile, grout and silicone sealant.

The shower cubicle was looking far from inviting and well in need of a good deep clean. I agreed a quote for cleaning and recolouring of the grout, and was soon on my way to the property to carry out the work.

Cleaning and Recolouring a White Tiled Shower Cubicle
I started by cleaning the dirty grout with Tile Doctor Mould Away, which is a fast and effective formula for the removal of mould from silicone and grout. I sprayed the product onto the tile and grout and left it to soak in for five minutes, before scrubbing the area with a stiff brush. I then rinsed the area with water, and repeated the process until the mould and staining had completely disappeared.
To guarantee the overall appearance I had agreed with the owner to apply a grout colourant to the grout. For best results, we recommend a pre-treater is applied to the grout first as it helps bond the grout colour to the Grout. The pre-treater was applied then the whole cubicle was rinsed.
The next step was to carefully strip out the old silicone sealant from around the base of the cubicle using a sharp blade.
Colouring Grout in a Shower Cubicle
The grout needs to be dry to take the colourant so after cleaning and pre-treating I dried the grout with a heat gun on a low setting.
Once I was happy the grout was dry I started the recolouring process using a White colourant from the Tile Doctor range which has ten popular colours to choose from including Charcoal Grey, Cappuccino and Black. This would ensure the grout matched nicely with the rest of the cubicle.
The colourant not only restores the colour, it also rejuvenates and seals the grout joints. The lastly step was to apply fresh white silicone around the base of the cubicle.

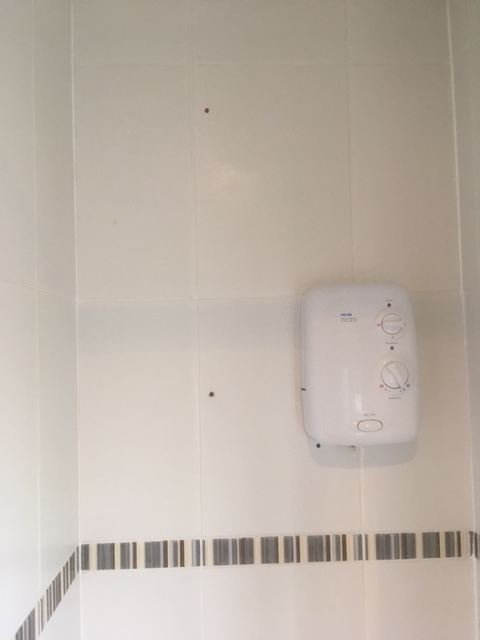
I think you will agree from the photos of the finished result the whole cubicle looks much fresher and that it would be difficult to tell the difference from a new installation.

