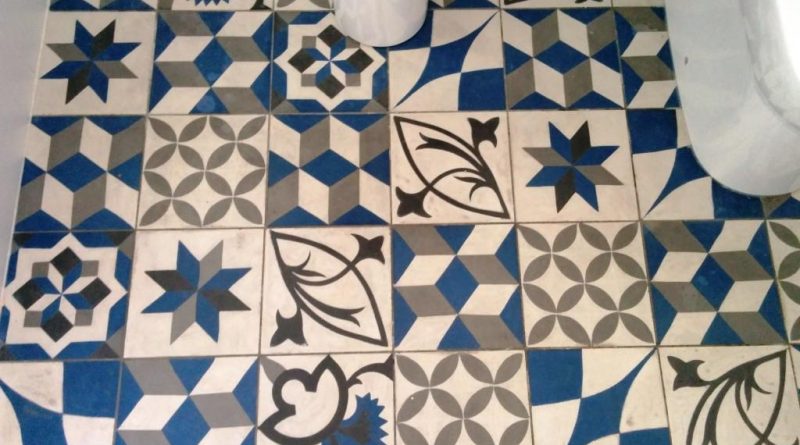
Renovating Grubby Encaustic Bathroom Floor Tiles in Sydenham
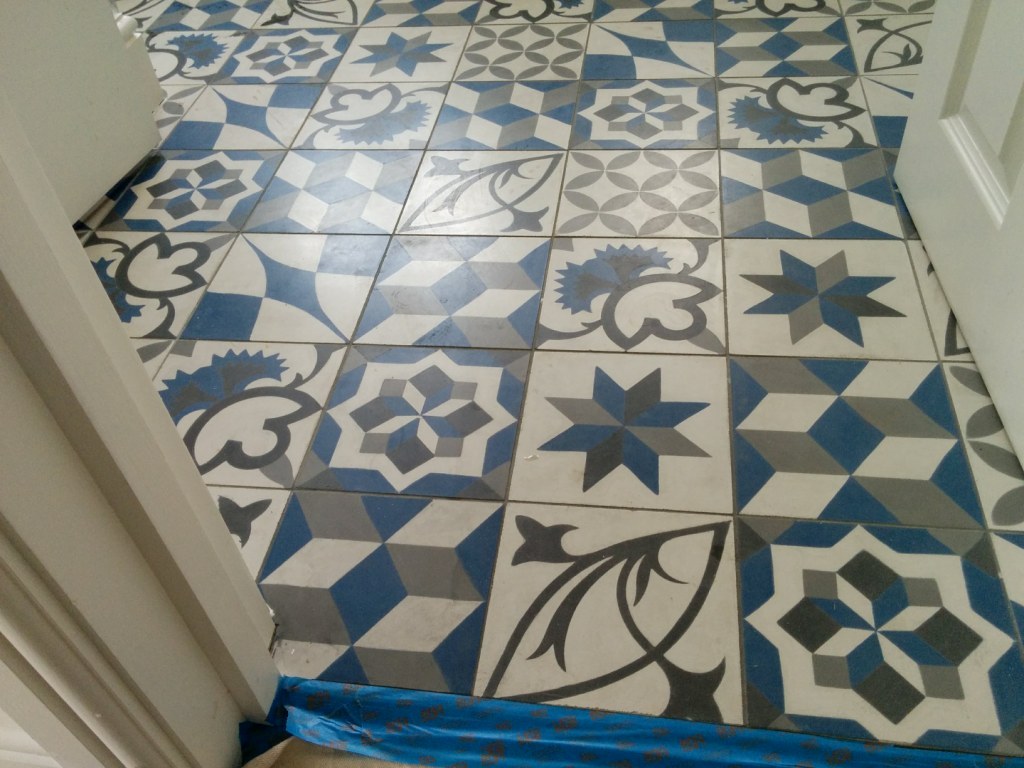
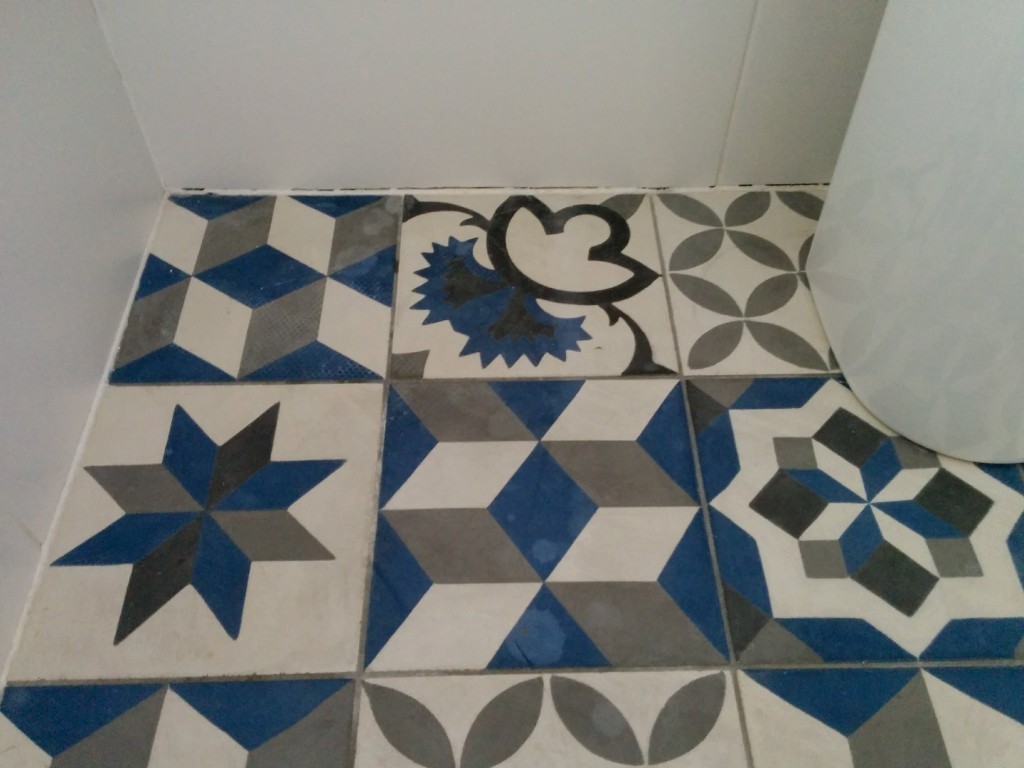
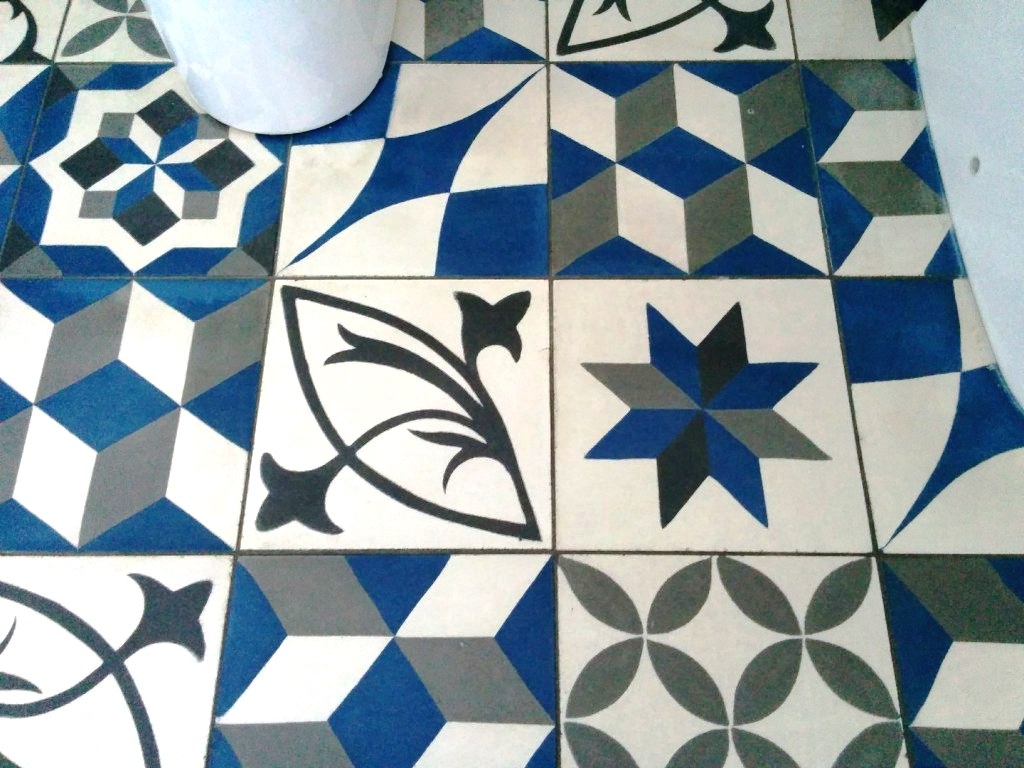
The customer had Encaustic Concrete tiles laid in two bathrooms and a hallway around a year ago at their house in Sydenham, South East London. Encaustic tiles have been around for a very long time however they are currently undergoing a resurgence and are once again proving very popular due the varied patterns being created.
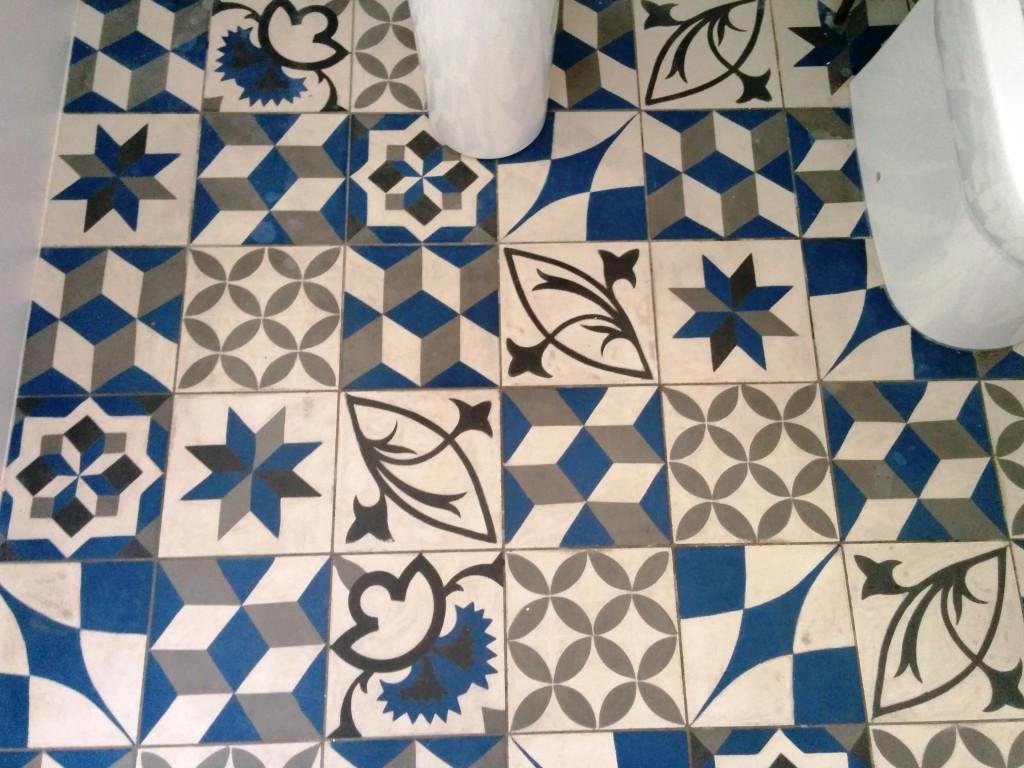
It’s probably difficult to appreciate from the photographs but this particular brand of encaustic tiles were very porous and had become very grubby since being installed and were now staining easily. I suspect they had only been lightly sealed after installation (if at all) and this had allowed dirt to penetrate the pores of the tile making it difficult to clean.
 |
 |
Cleaning a Dirty Encaustic Tiled Hallway
The process I used for cleaning the tiles was the same one I would use on polished stone such as Limestone or Travertine. It involves applying a set of Diamond encrusted burnishing pads starting with a coarse 400 grit pad fitted to a rotary floor buffing machine and lubricated with water. The water becomes soiled with the slurry from the burnishing process and once all the tiles have been treated its rinsed off with more water.
You then apply the medium 800 grit pad, again with water to help lubricate and rinse off afterwards like before. The process is repeated with the fine 1500 grit pad and the tiles given another rinse.
Before applying the final super fine 3000 grit pad I scrubbed the grout lines with a solution of Tile Doctor Pro-Clean which is a strong alkaline cleaner that’s designed for use on Tile and Stone. I used a handheld narrow brush to scrub the grout and followed that up with another rinse with water using a wet vacuum to extract the water and dry the floor afterwards.
Sealing Encaustic Tiles
The beauty of honing the tiles with the burnishing pads in this manner is that the system closes up a lot of the pores in the tiles, making them less porous and easier to seal. Burnishing also uses less water so it wasn’t long before the floor was dry, and I was able to start the sealing process.
I sealed the floor using Tile Doctor Colour Grow, which is a colour enhancing impregnating sealer that seeps into the pores of the tile and protects it from within. Three even coats with a drying time in between is sufficient for these tiles, and once the final coat had dried I went over the floor with the 3000-grit pad on my floor machine, to leave the floor with a slight sheen.
 |
 |
After care is so important when it comes to maintaining a sealed floor, so I always leave the customer with a small bottle of a recommend cleaning product. In this case I left them with Tile Doctor Stone Soap which is made with vegetable oil extract and will help maintain the patina on the floor.
