Renovating a Dirty Travertine Floor Due to Failed Sealer in Suffolk
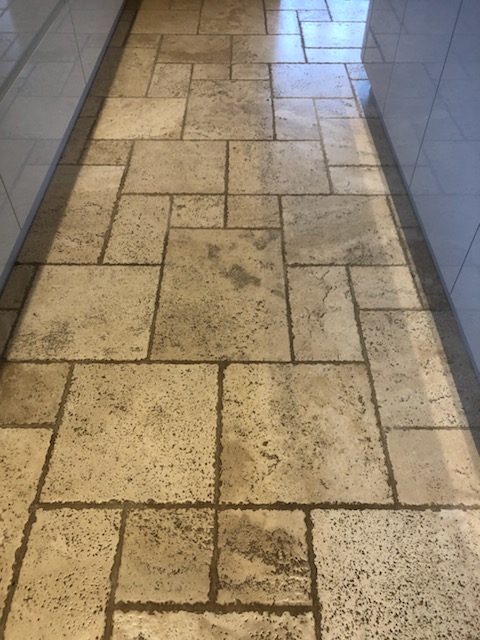
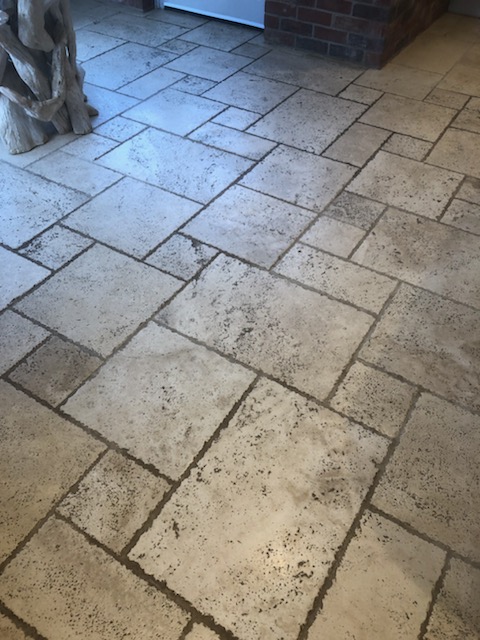
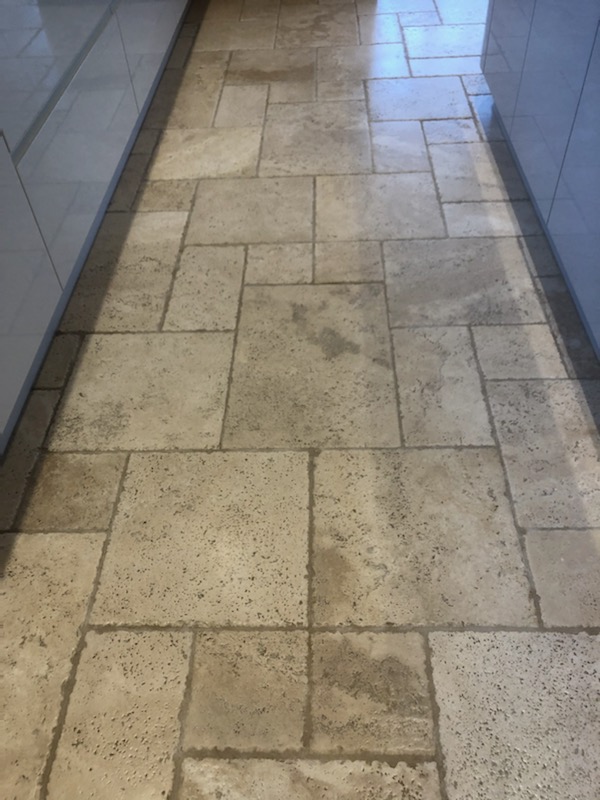
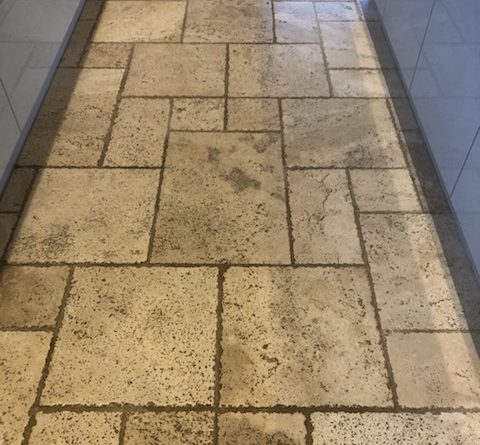
The pictures below are of a Travertine tiled floor installed in the large Kitchen of a barn conversion in the small village of Great Green near Thurston which is four miles from Bury St Edmunds. The floor had been laid ten years prior and the customer was now finding it increasingly difficult to get the tile and grout clean.

I visited the property to survey the floor and quickly confirmed that the problem was quite clear, the sealant had been worn away over the years and now unprotected dirt was getting into the surface and pores of the stone. Once ingrained with dirt it becomes impossible to get them clean with everyday household cleaners. The floor was in the kitchen which being one of the busiest areas in the house so really needed to be protected.

I ran a test clean on a small patch of travertine and they could see straight away the colour the floor should have been. It was clear the tile and grout would need a deep clean and then resealed however due to the inevitable wear I advised the customer stone floors like these really need continual attention and recommend that after the initial renovation they consider getting us back in once a year to do a surface clean and seal.
Happy with our test clean and quotation we got the go ahead to do the initial clean and seal and we arranged complete the work the following month.
Cleaning a Travertine Tiled Kitchen Floor
On arrival I first taped up the skirting boards and kitchen plinths to protect them from splashing during cleaning. The floor was then scrubbed with a strong dilution of Tile Doctor Pro-Clean which was first left to dwell for ten minutes so it could soak into the pores and break down the dirt. For best results I use a rotary buffing machine fitted with a black scrubbing pad. Pro-Clean is a multi-purpose tile and grout cleaning product that really gets to grips with ingrained dirt and grease as well as removing the remains of old sealer.
Scrubbing pads struggle to reach into the grout recesses so I scrubbed the grout lines by hand using a wire brush and more Pro-Clean. The resultant slurry was then vacuumed off the floor using a wet vacuum, the floor was then rinsed with water and vacuumed again.
To improve the appearance of the Travertine tiles further it was given a light burnish using a 400-grit then 800-grit diamond burnishing pad. These pads are attached to the rotary machine and then run over each tile several times using only water for lubrication. This action brings up the natural polished appearance of the stone to leave a mild sheen as per the clients’ request. After another rinse and extraction to remove the slurry generated during burnishing the floor was left to dry off overnight.
Sealing a Travertine Tiled Kitchen Floor
The following day I returned and first took some moisture readings from the floor using a damp meter. I needed to be sure the floor was dry enough to accept the sealer as applying sealer to a damp floor is not recommended.
The floor had dried out nicely, so I began the application of the sealer, Tile Doctor Colour Grow. This product is a colour intensifying impregnating sealer that penetrates the stone, occupying its pores, improving colour, and resulting in long lasting protection. I highly recommend this for use on Travertine and it enhances the natural brown colours in the stone beautifully.

The job took 2 days in total to complete and the clients were very happy with the result. For aftercare I have advised the use of Tile Doctor Stone Soap which will help maintain the patina whilst keeping the floor clean. I’ve also made a note to give them a call in a years’ time to discuss giving the floor a light Maintenance Clean and apply a new coat of Colour Grow.

Source: Travertine Tile Cleaning and Renovation Service in Suffolk
