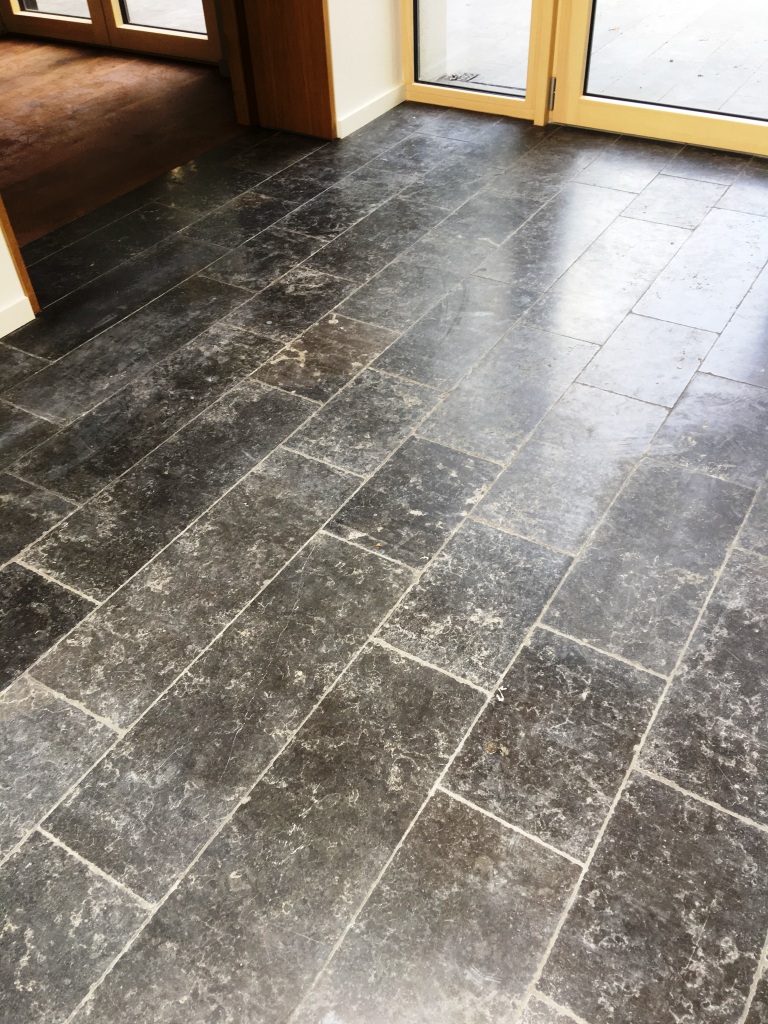
Removing Scratches and re-sealing Black Limestone Tiles for Godalming Property Developer
[ad_1]
A property developer contacted me looking for a solution to two problems with a Black Limestone floor he had installed in the kitchen of a house in Godalming. The first problem was the sealer used didn’t do anything to enhance the look of the Limestone tiles and the new owner was very unhappy with their appearance which was now light in colour as opposed to the black Limestone he was expecting. Secondly the kitchen fitter had dragged a wooden box with a rogue screw hanging from the bottom across the floor in several places leading to scratches.

With direct trains to London Waterloo taking 45 minutes Godalming is a very desirable place to live and a property hotspot. Fortunately for the developer I was able to advise that both problems were fixable. Firstly, I had to remover the existing sealer, tackle the scratches and then re-seal and polish. Keen to have the problem resolved I was instructed to go ahead with the work.

Removing Sealer and Scratches from Black Limestone tiles
The old sealer was not doing anything to enhance the look of the Black Limestone and simply applying a new sealer on-top of the old would not have improved the appearance, so it had to be stripped off first. To remove the old sealer, I attached a coarse 400-grit Diamond burnishing pad to a floor buffer and ran it over tiles with water for lubrication. The process generates a fine slurry so once the whole floor had been burnished in this way the slurry was rinsed off with more water and then extracted using a wet vacuum.
Next, using a small handheld burnishing block I very carefully removed the scratches that the kitchen fitter had caused. Like the burnishing pads these blocks come in different grades and are encrusted with industrial diamonds.
Once happy I was happy that the scratches were gone, I continued to burnish the floor using a medium 800-grit and then a fine 1500-grit pad. These pads are used to hone the stone and build-up its polished appearance. As with the 400-grit pad water is used to lubricate the process and the floor is rinsed and extracted after each pad.
Sealing Black Limestone Tiles
I left the floor to dry off and returned after the weekend to apply the sealer. This is essential for any stone floor as otherwise dirt will become trapped in its pores making it difficult to clean effectively. Sealers can also enhance the appearance of the stone and in this case, we wanted to really bring out its natural dark colour. With this in mind I chose Tile Doctor Colour Grow which is an impregnating sealer that protects from within and includes a colour enhancing agent that improves colour and, in this case, considerably intensified the black colour of the stone to achieve the effect the customer wanted.

Before leaving I ran over the floor with a white buffing pad to add an extra lustre to the stone, by the time I had finished the floor looked amazing. Unfortunately, I never got to hear how the customer felt about the new appearance of their Black Limestone floor however the property developer was much relieved as he thought the whole floor might need to be replaced.
Source: Limestone Tile Cleaning and Polishing Service in Godalming
[ad_2]
Source link
