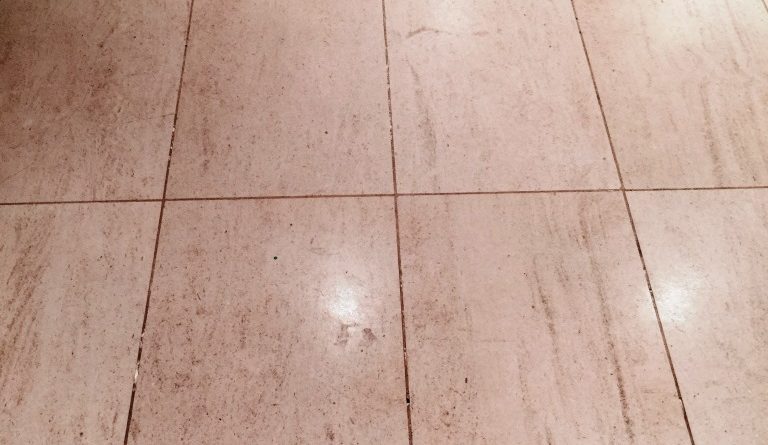
Removing Limescale from Limestone Shower Tiles
Sometimes, Tile Doctor customers will have more than one tiled area in need of professional maintenance. At this house in Wandsworth, South London; I was commissioned to clean and seal firstly a Limestone tiled kitchen floor, and a Limestone tiled shower unit.
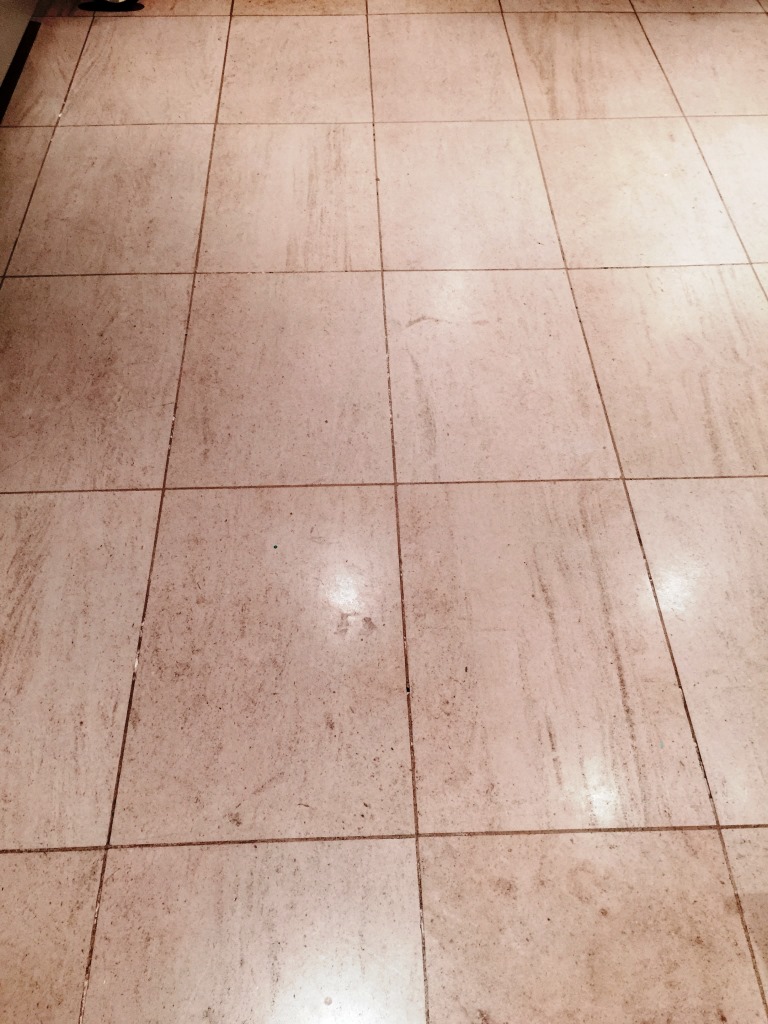
Cleaning and Sealing a Limestone Kitchen Floor
I started with the Limestone tiled kitchen floor which, like many other stone floors had not been treated to the correct regular care and had become dull and dirty over time as a result.
My first task involved applying Tile Doctor Remove & Go stripper in order to break down any old surface sealant and dirt. Then, I began the burnishing process, which essentially involves polishing with pads of varying grit. I started with a Medium 800 grit burnishing pad to provide an initial polish and grind away ingrained dirt, before refining this with a Fine 1500 grit pad to achieve a smooth surface. The burnishing pads are used in combination with a small amount of water.
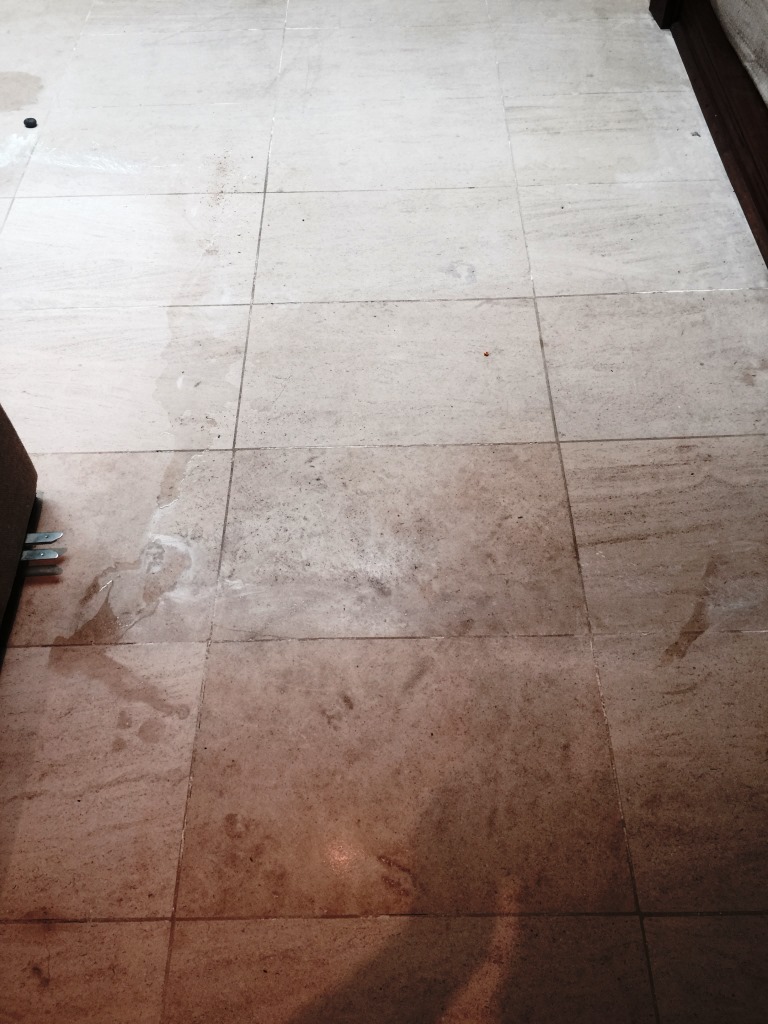
After leaving the floor to dry for 24 hours, I sealed the tiles with Tile Doctor Colour Grow. This will provide durable surface protection for the future and also further accentuate the great natural shades in the Limestone. To add the finishing touches, I buffed the floor with a soft white buffing pad.
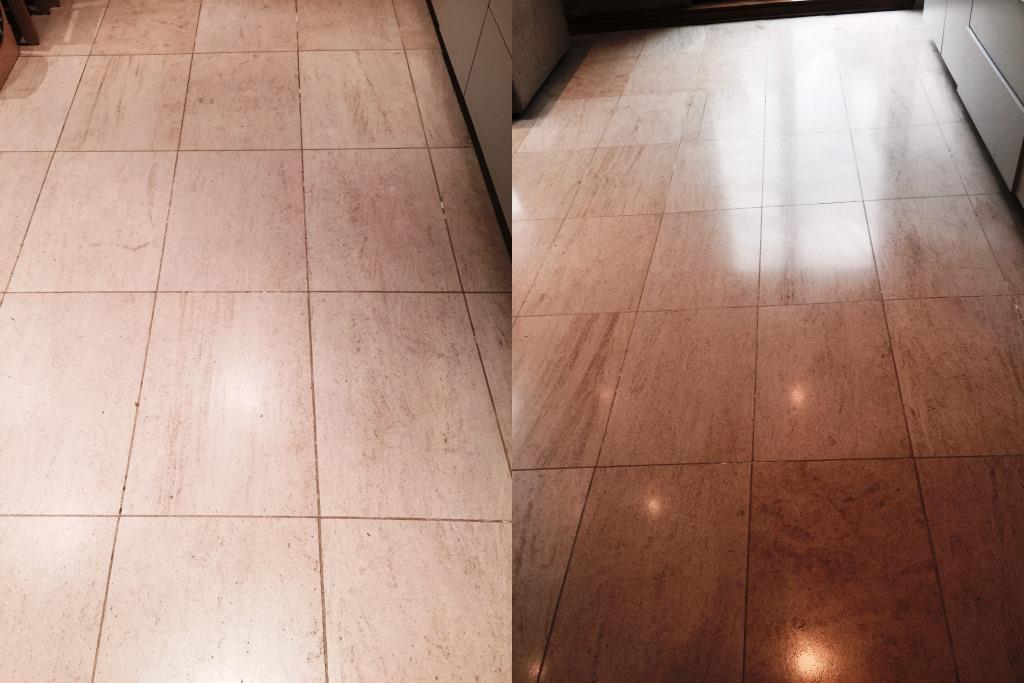
Cleaning and Sealing a Limestone Tiled Shower Unit
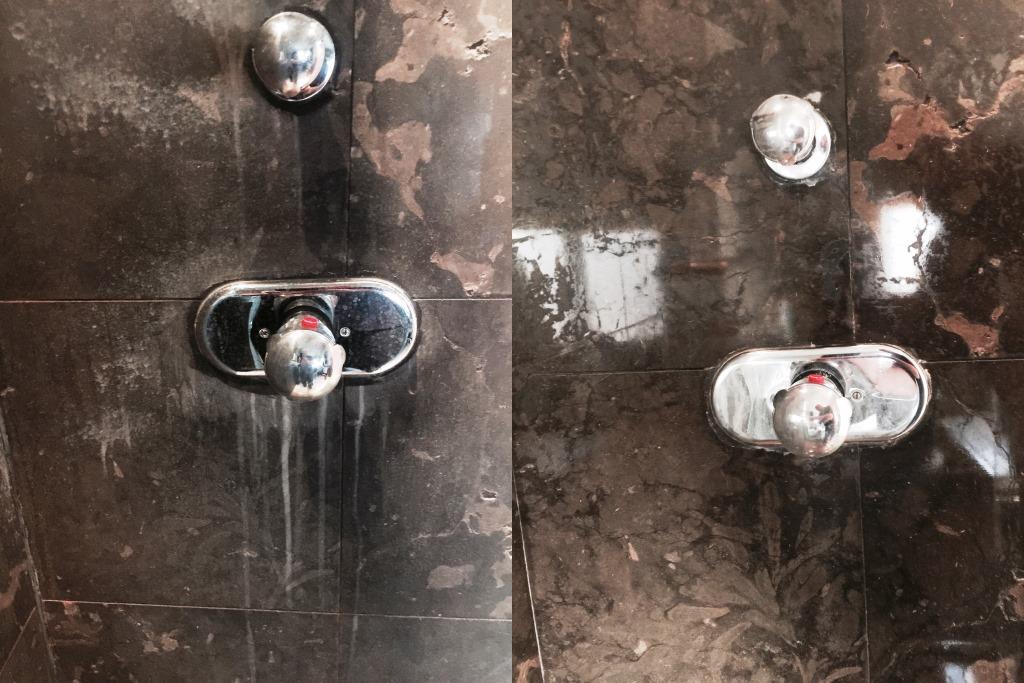
During the time it took for the Limestone tiled kitchen floor to dry, I set my sights on tackling the shower unit. The unit was suffering from a terrible amount of limescale, which would need to be removed using a set of hand held burnishing pads. Limescale deposits build up on surfaces which come into contact with hard water, and can become very unsightly if not dealt with promptly.

This proved to be a more awkward job thanks to the intricate Limestone fittings on the shower walls. I used the smaller 6-inch burnishing pads fitted to a hand buffer, while for the kitchen floor I naturally used the larger sized pads attached to a heavy weight buffing machine.
With the limescale as bad as it was, I started to grind it off with a Very Coarse 120 grit burnishing pad, before working my way up gradually through the system of pads – each time using a slightly finer grit pad until I finished with the Ultra Fine 3000 grit pad and the surface finish had been restored.
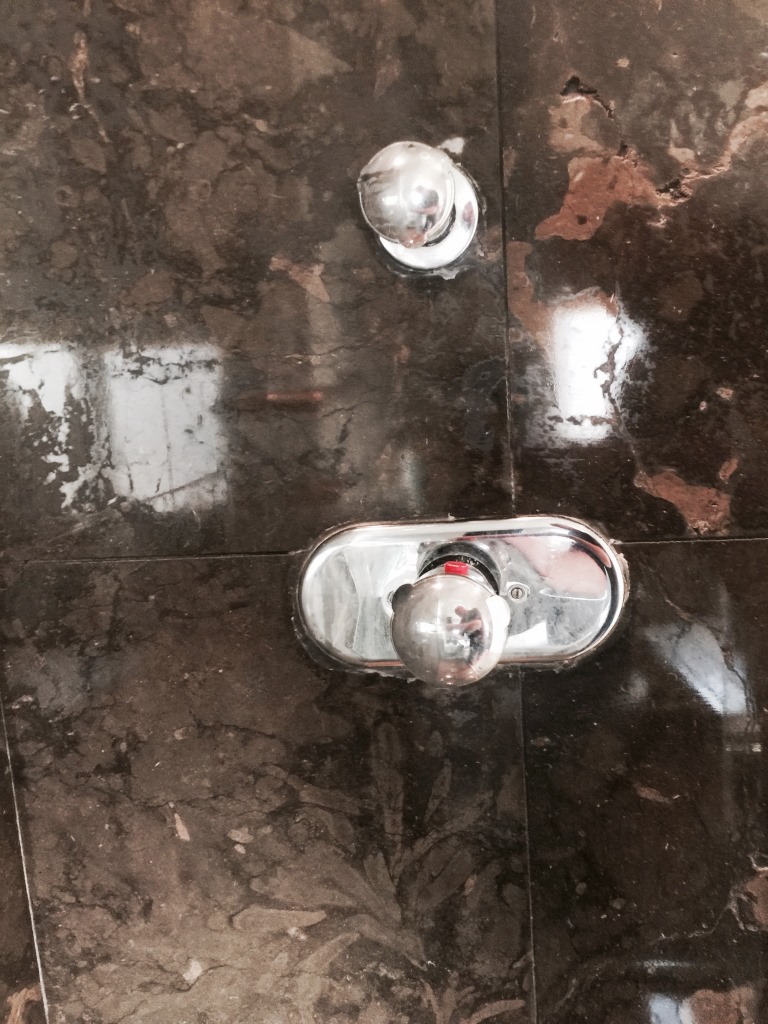
Following this, I removed the silicone sealant around the shower fittings, and dealt with the mould growing behind it.
On the second day of work, I sealed both the kitchen floor and the shower unit. Much like the kitchen floor, the shower unit was sealed using Colour Grow to ensure long lasting protection, and fresh silicon was also fitted.
Two days of work and two rejuvenated Limestone features later, I was left with a very happy customer.
Source: Limestone Tile and Stone Cleaning and Restoration Service in Surrey
