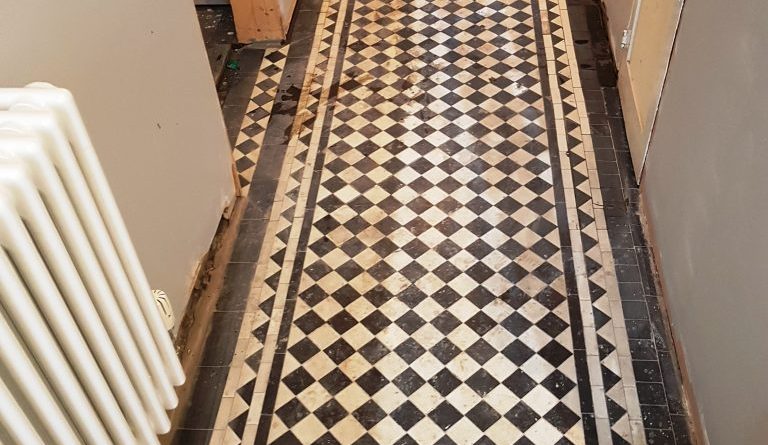
Relaying and Renovating a Victorian Tiled Hallway in Hale Barns
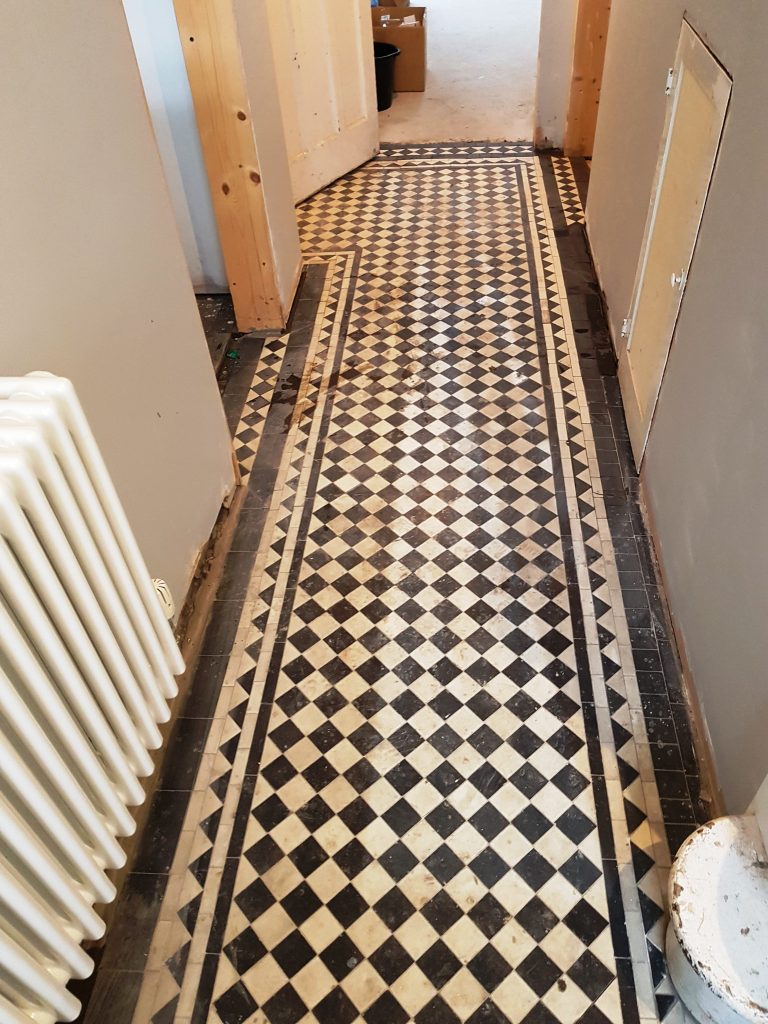
We were contacted by an architect who was working on the redevelopment of a late Victorian property in Hale Barns, their client wanted to restore the property to its former glory and several internal changes meant reconfiguring the doorways on the ground floor. This in turn would impact the elegant Black and White Victorian tiled hallway floor and the request was for us to lift half the tiled floor and then replace it once the internal changes were complete.
 |
 |
Certainly, an interesting request and one we were happy to quote for. Hale Barns is an effluent part of Cheshire with a mixture of late Victorian and ultra-modern housing popular with footballers, so It’s refreshing to see a period property like this sympathetically restored instead of being demolished.
Lifting and Rebuilding a Victorian Tiled Hallway Floor
The first part of the works involved removing the section of flooring that would be disrupted by the internal changes. Normally we would carefully cut out one tile so we can get a purchase on the remainder from underneath; however the floor had some loose tiles so it simply a question of lifting these then putting a flat plate under the rest and popping them up. I make it sound simple but doing it without damaging a tile takes patience.
 |
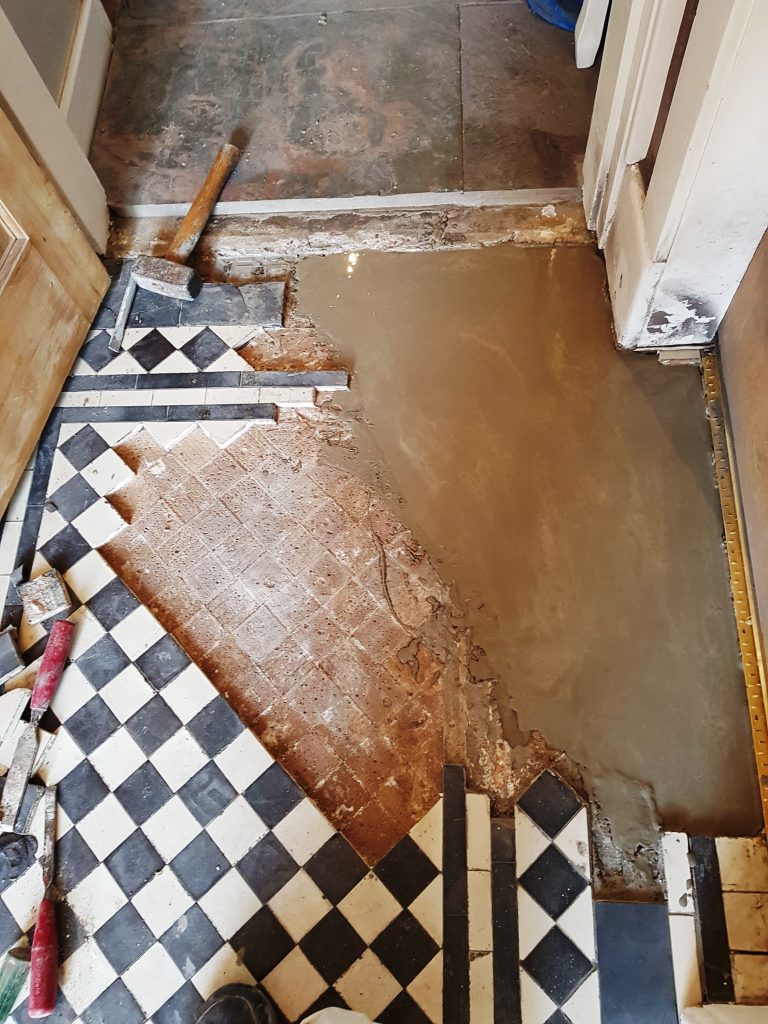 |
The lifted tiles were stored in buckets containing a 4:1 dilution of Tile Doctor Pro-Clean and water. The tiles were left so soak for a couple of days to soften the adhesives, grout and dirt before being cleaned off and left to dry out.
Once the building work was completed, we were called back into rebuilt the Victorian floor taking into account the new door thresholds. The first job was to level the floor with fast drying self-levelling compound to provide a new sub-base for the tiles. This was left to dry overnight and the next day we started laying the floor back down with fast setting tile adhesive. Once the floor was laid, we left for the day, so it could set overnight.
 |
 |
Lifting and Rebuilding a Victorian Tiled Hallway Floor
Next day we checked the tiles were set before starting to clean with a set of abrasive burnishing pads which attach to a slow speed weighted rotary floor machine. We started with a very coarse 100-grit pad and use water to help lubricate the process, the resulting soil is then rinsed off and removed with a wet vacuum. Using exactly the same process we continue to further refine the tiles by working our way through ever finer grades of pads until we get to 1500-grit. The floor was then washed with Tile Doctor Acid Gel and this is left to soak into the tile before being washed off with water. Giving the floor an acid wash in this fashion helps clean the tile of old mineral deposits and also neutralises any alkaline salts in the floor which could cause problems later on, this is a common issue with old floors more commonly known as efflorescence. The floor was dried using the wet vacuum to remove as much moisture as possible before being left to dry off overnight.
Sealing a Victorian Tiled Floor
The next morning, I finished off the restoration of the floor with the application of a very fine 3000-grit burnishing pad which gave the floor a light sheen. This final pad is applied dry with only a little water sprayed onto the tile using a method we call a ‘Spray Burnish’.
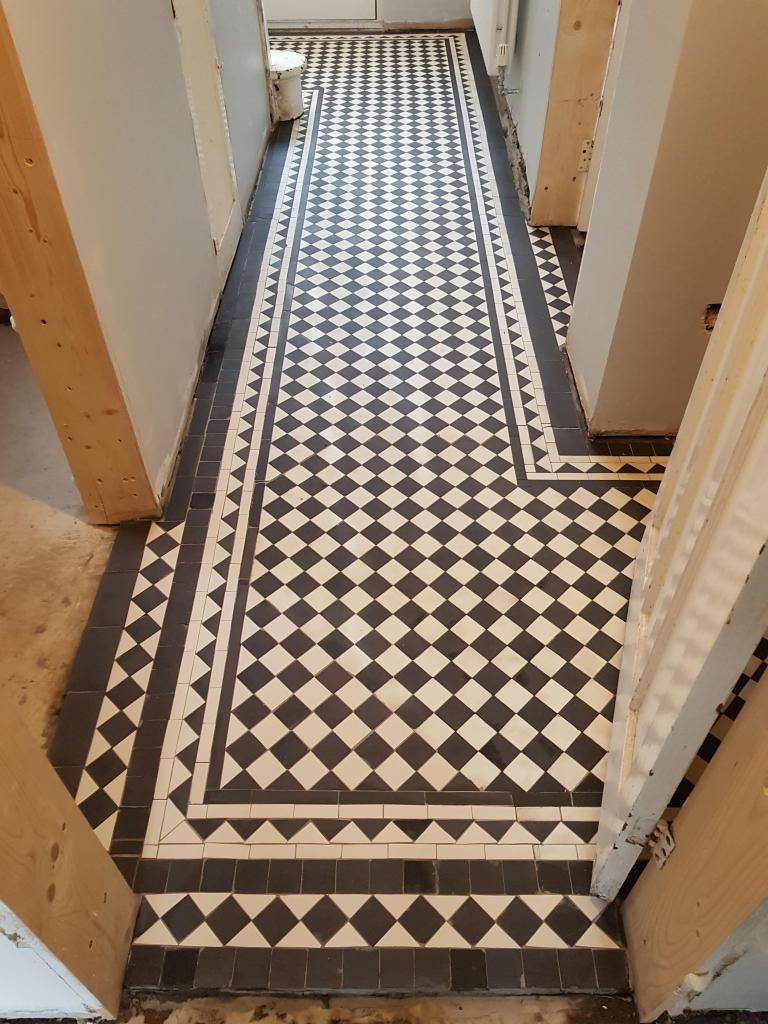
The floor was then checked for moisture with a damp meter to make sure it was dry before sealing. All was well and two coats of Tile Doctor Colour Grow sealer were applied to protect the floor going forward. Colour Grow is a fully breathable impregnating sealer that will enhance the colour of the black tiles and being breathable will cope well with any moisture rising through the floor. Once the sealer had dried fully the floor was buffed with the 3000-grit pad leaving a sheen as requested by the client.
 |
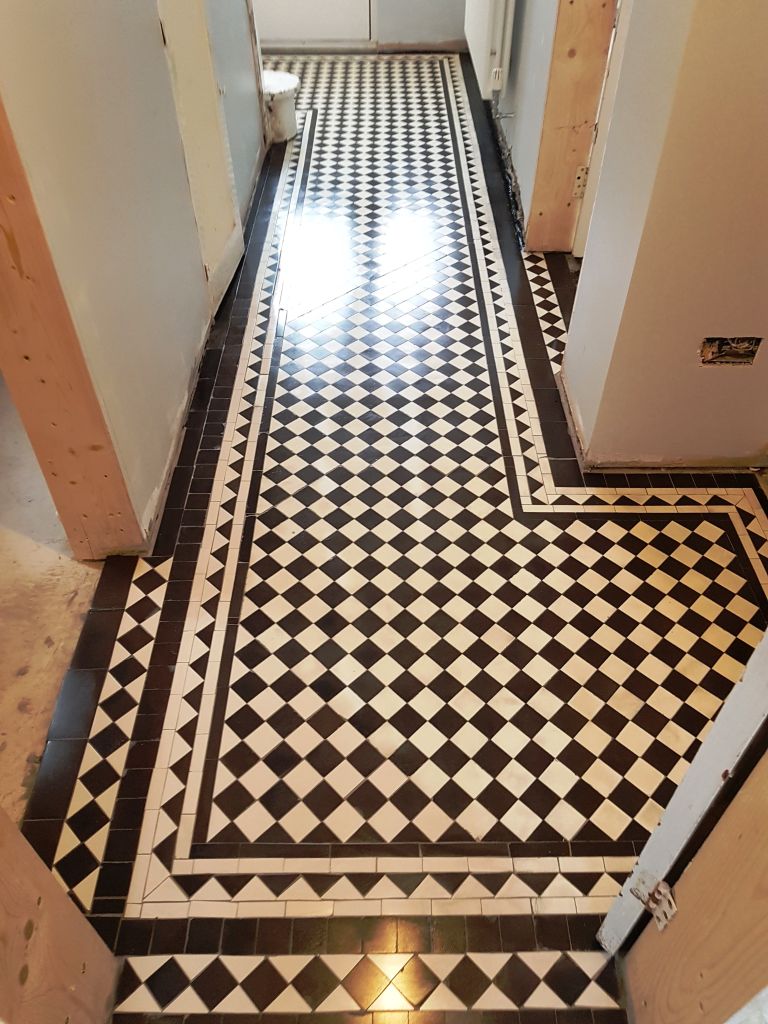 |
The result was quite a transformation that was well received by the architect and their client.
Source: Victorian Tile Cleaning and Restoration Service in Hale Barns, East-Cheshire
