1970’s Terracotta Floor Stripped of Wax and Restored in Kent
Recently I visited a 150-year-old cottage in the beautiful small village of Chilham near Ashford to restore/improve a terracotta tiled floor. As it turns out the floor had been laid in 1970 by the owner and was protected with a thick wax-based product called Bourn Seal. The owner had diligently applied the product with a cloth and polished in by hand every year for approximately 20 years and then applied it on a as when needed basis, in fact the original tin was still in there cupboard!
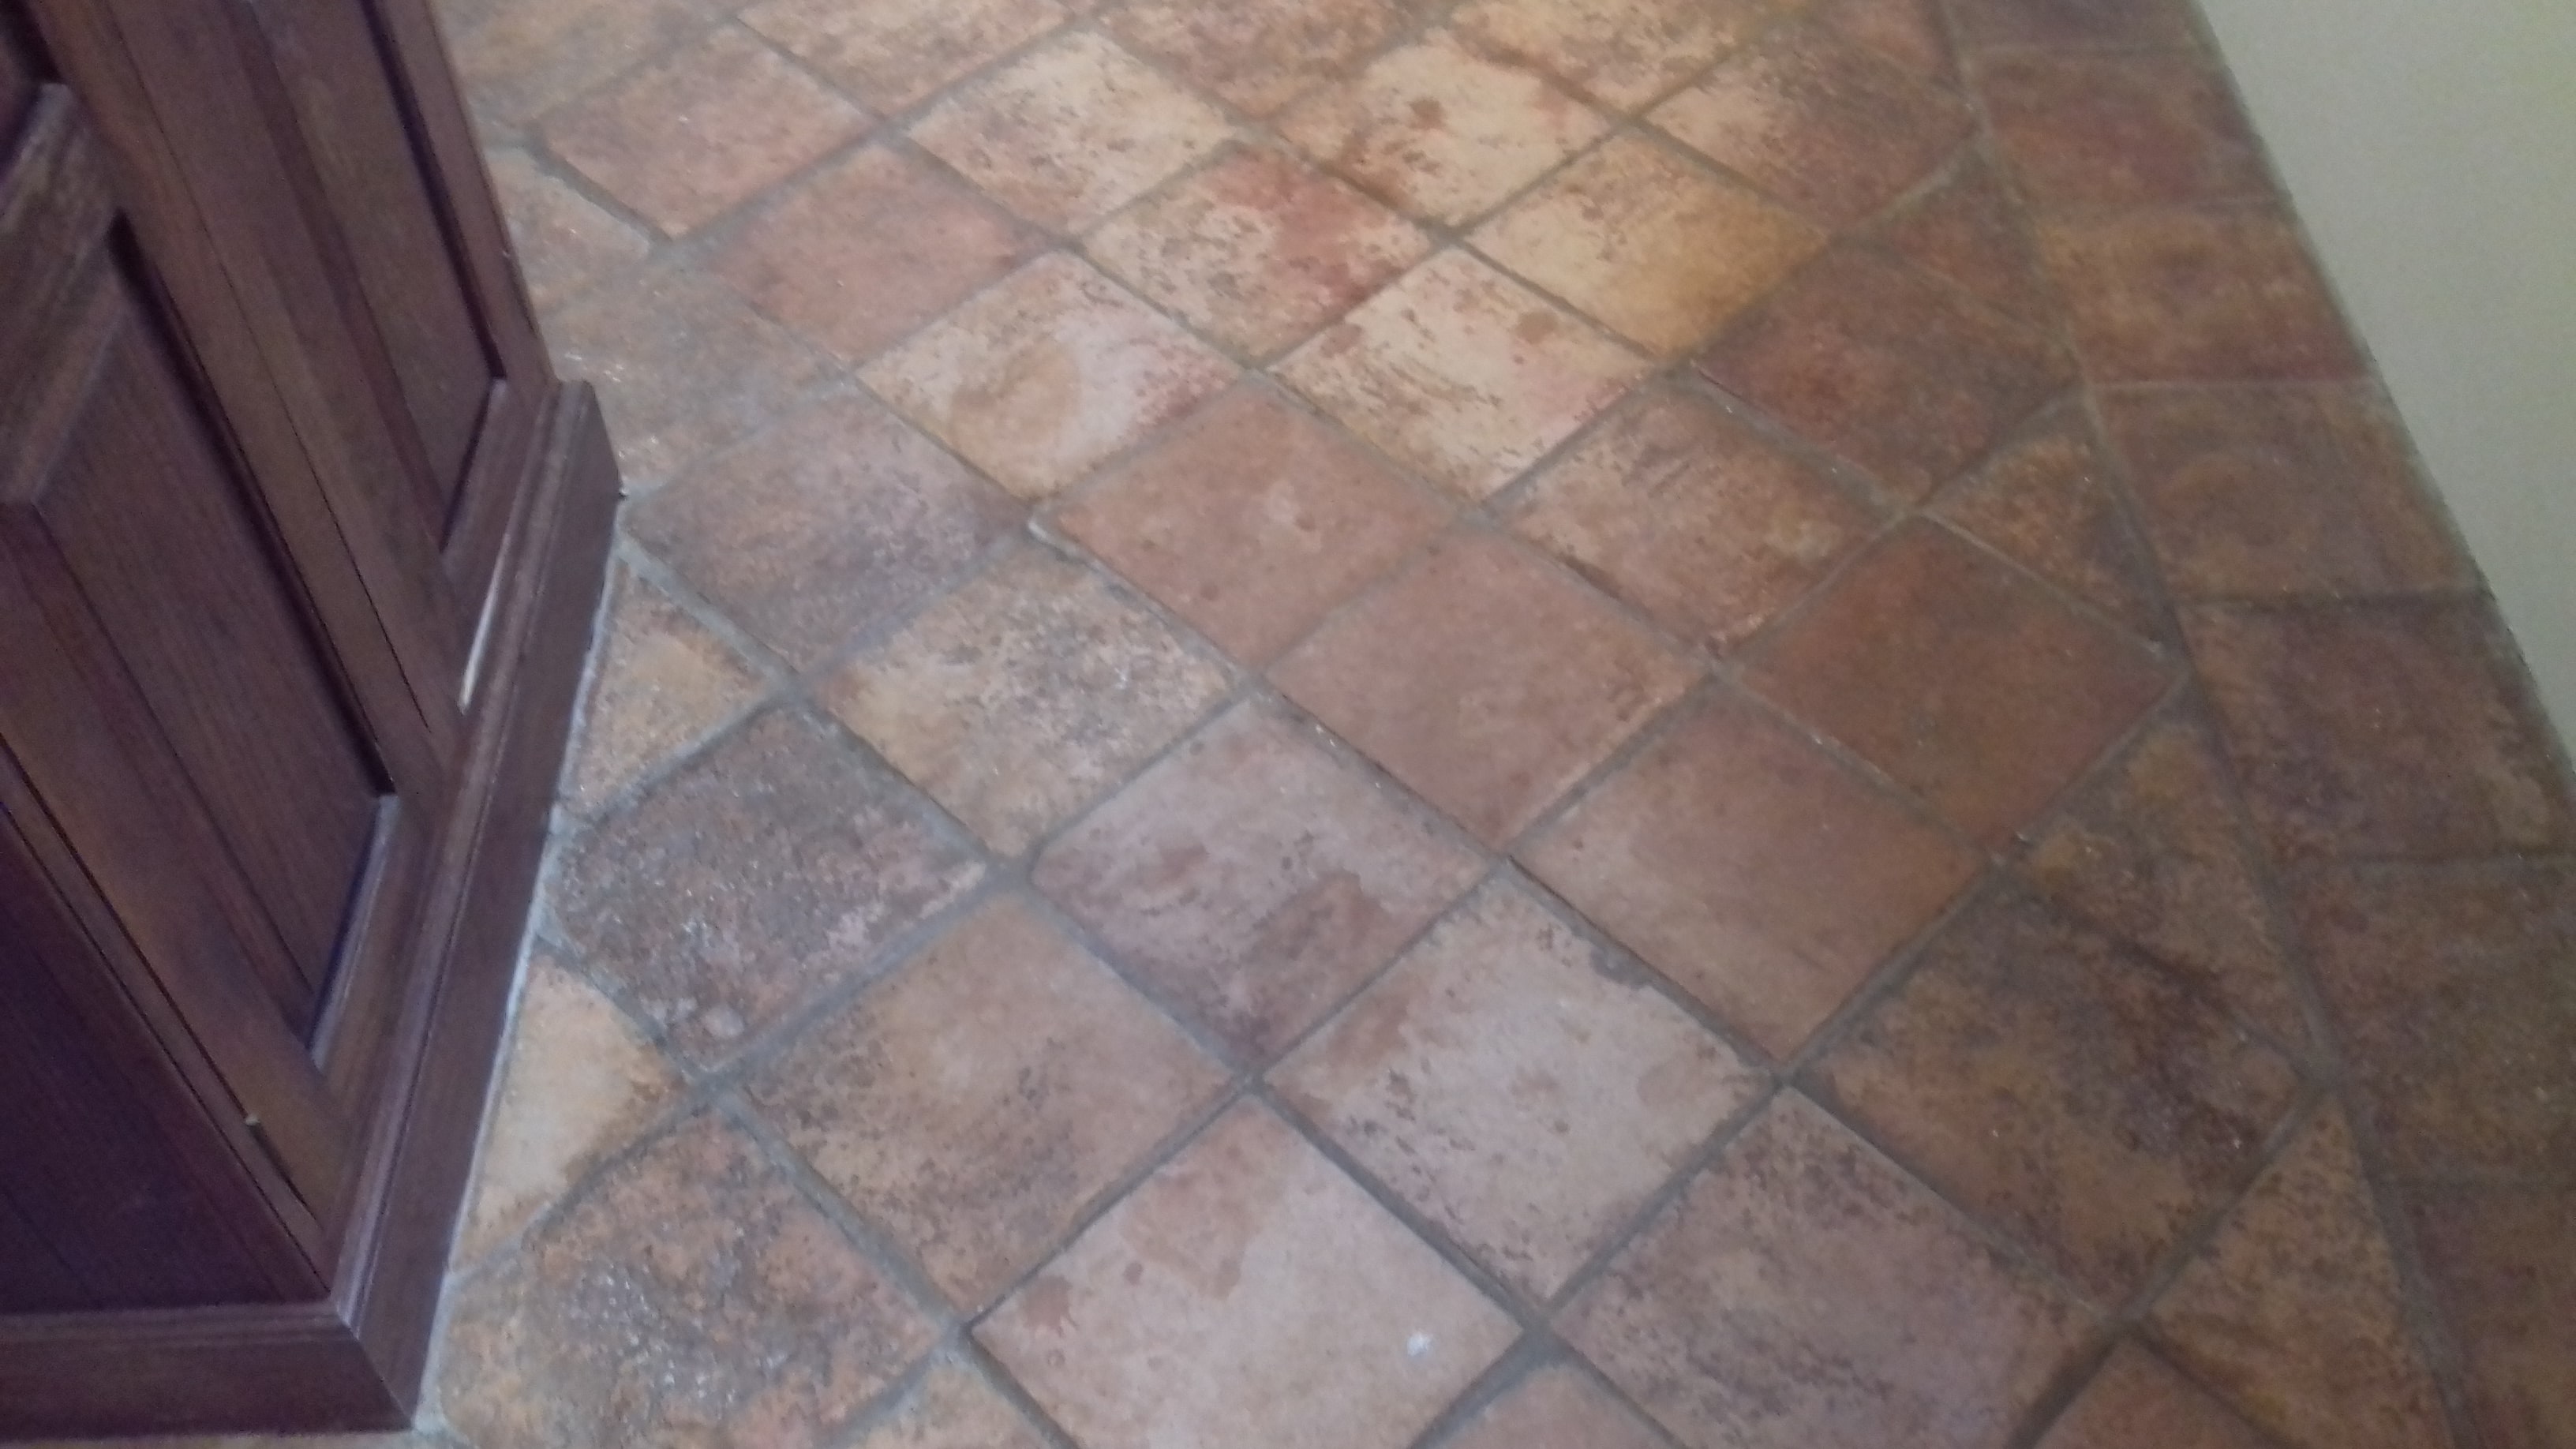
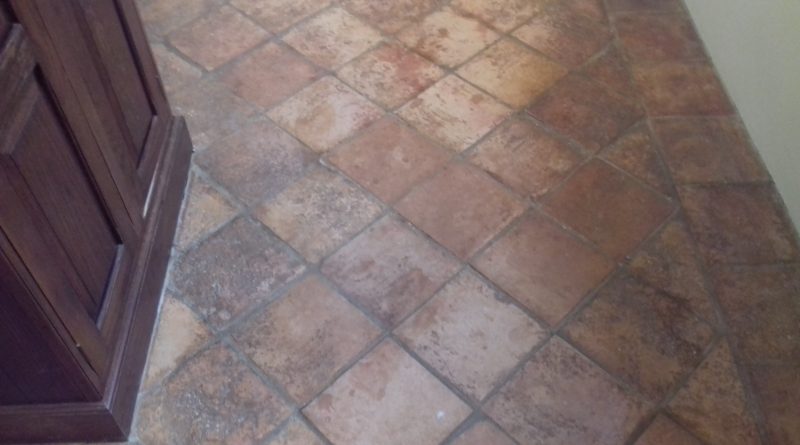
Over the years since the floor was laid the Terracotta tiles were now looking worse for wear due to the sealer being very patchy and flacking in areas not walked upon. Unprotected dirt had become ingrained in the pores of the clay tiles making them difficult to clean and very unattractive.

After surveying the floor first-hand, I recommend that the layers of old wax be stripped off, so the tiles could be deep cleaned and then resealed with a modern sealer. After agreeing on a quote for the work we set a date for my return to renovate the floor.
Stripping Wax from Terracotta Tiles
On my return the first task was to set about covering all the walls, timber and original finishes with protective tape to protect them from splashing during the cleaning process. Once this was done, I started stripping off what was left of the multiple layers of wax by applying a generous application of Tile Doctor Wax Away which as its name suggest is designed for the removal of wax from tiles. I left the product to soak in for ten minutes and then started scrubbing it into the Terracotta using a black nylon pad fitted to a slow speed rotary floor buffer.
The stripping process was done in sections scrubbing in the Wax Away and then rinsing it off thoroughly with water as we went. All the soils were then extracted with a wet vacuum and the process repeated when required until we were happy all the wax was gone, and we were back to the virgin tile.
The cleaning process can be quite rigorous so before continuing I checked the floor for loose tiles and cracked or missing grout. All was good, so I set about cleaning the tiles with a burnishing pad that was run over the floor using the rotary buffer and water which acts as a lubricant. The floor is then rinsed with water to remove the soil that is generated and then left to dry off overnight.
Sealing Mexican Terracotta Tiles
The next day I returned to seal the floor, but not before checking first with a damp meter that it had dried completely. This is essential because excess moisture can cloud the sealer and damage its performance. Our choice of sealer for the Terracotta was several coats of Tile Doctor Seal and Go, which provides excellent surface protection along with an aesthetically pleasing deep sheen finish. Also, being water based it doesn’t give off an unpleasant odour as it dries.

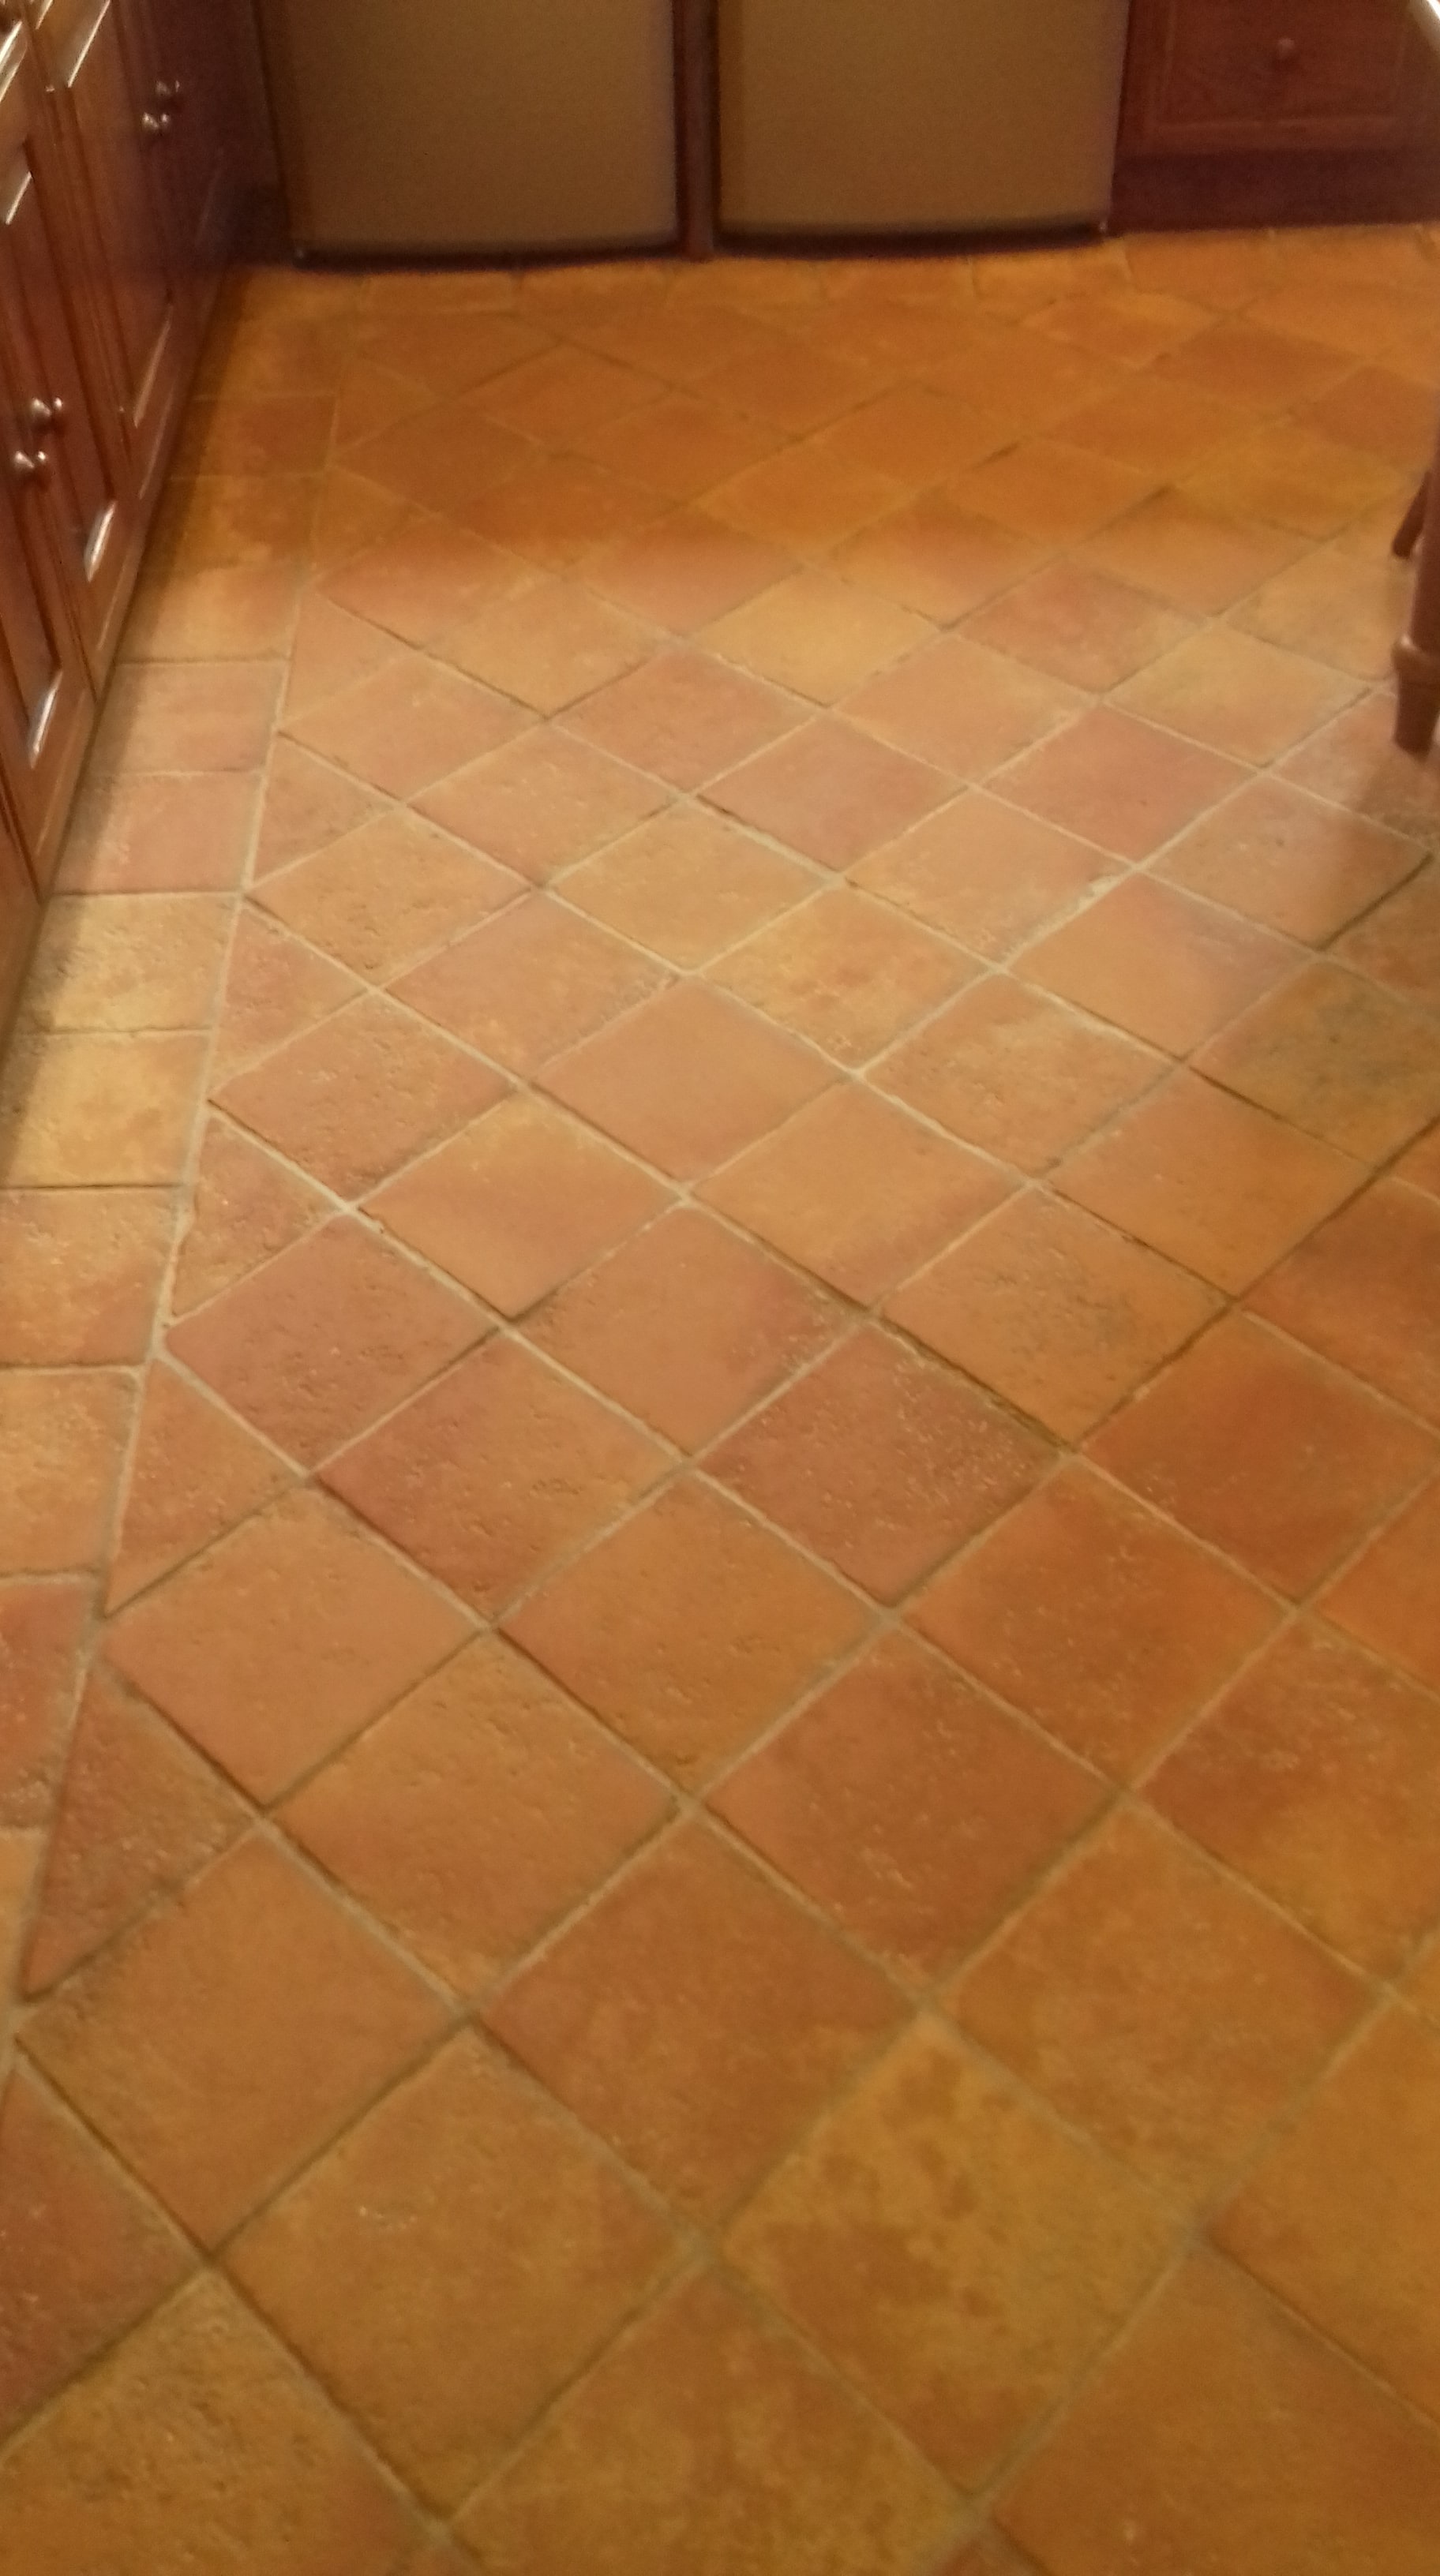
As you can see from the photograph above, the transformation was fantastic, and the floor looked like a new installation. My customer and I were very pleased with the result, I only wish I had taken more photographs.
Source: Terracotta Tile Cleaning and Sealing Service in Kent
